
These notes are based on the Viewport Navigation video tutorial.
Status Bar
At the very bottom of the window there is a Status Bar that indicates the actions that certain mouse clicks will perform, in the context of which hot keys you are pressing, and which objects your mouse cursor is pointing at in the window.
You can toggle the status bar from the ‘Window’ menu using the ‘Show Status Bar’ option.
Default Workspaces
Blender provides default Workspaces for common workflows. These are:
- Layout - general workspace to preview your scene and objects
- Modeling - For modification of geometry by modeling tools
- Sculpting - For modification of meshes by sculpting tools
- UV Editing - Mapping of image texture coordinates to 3D surfaces
- Texture Paint - Tools for coloring image textures in the 3D Viewport
- Shading - Tools for specifying material properties for rendering
- Animation - Tools for making properties of objects dependent on time
- Rendering - For viewing and analyzing rendering results
- Compositing - Combining and post-processing of images and rendering information
- Geometry Nodes - For procedural modeling using Geometry Nodes
- Scripting - Programming workspace for writing scripts

After you’ve made modifications to the panels in a workspace, those modifications remain even if you switch between workspaces.
You can use CTRL + Page Up or CTRL + Page Down to switch between workspaces.
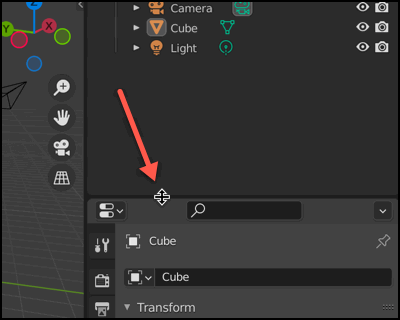
Resizing Panels
You can place your mouse cursor on the boundary of a panel, and you will see that the cursor icon turns into an adjustment icon. Click and drag to adjust the size of the panel.
Toggle Maximized
You can maximize certain panels by placing your mouse cursor over them, and then clicking on CTRL + Spacebar to toggle between a maximized and default sized panel.
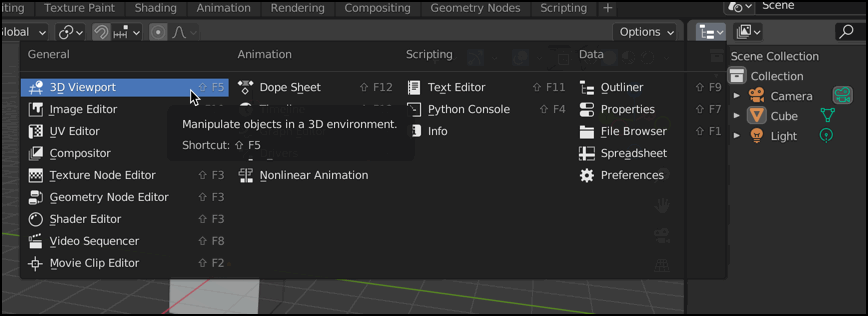
Change Editor Type
You can click on the ‘Editor Type’ icon in the upper-left corner of a panel to change the type of editor that is showing in the panel.
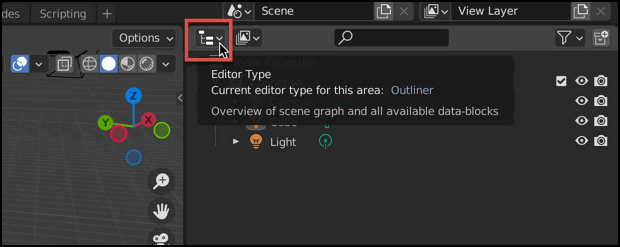
There are many types of editors you can choose from.
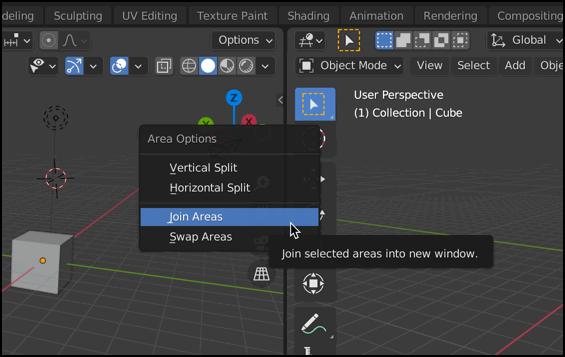
Splitting Areas
If you right-click on the boundary of a panel, you can choose ‘Swap Areas’ to swap the two panels that share the same boundary.
You can also choose to split a panel into two panels horizontally or vertically. The split doesn’t have to be related to the boundary of the panels you were right-clicking on, you can move your mouse cursor and choose to split any of the panels.
For instance, if you choose ‘Vertical Split’, then a vertical line will display over any of the panels your mouse cursor points over. As soon as you click inside of the panel, the split will take place upon the line you placed.
Removing Panels
If you wish to remove a panel, right-click on the boundary of two panels and select ‘Join Areas’. You’ll then be given the option to point at one of the panels that you want to remove, then left-click to remove it, thus leaving the other panel present.
3D Viewport
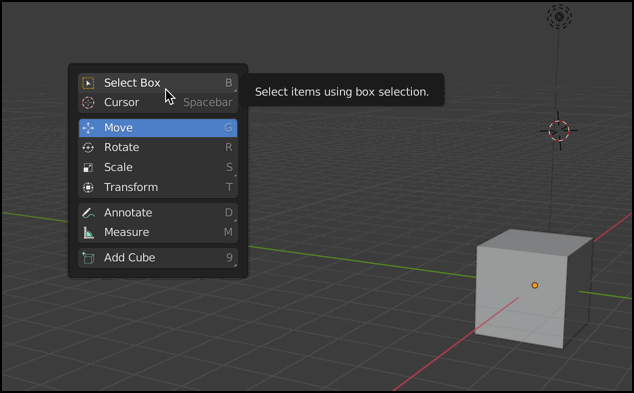
Toggle Toolbar
You can use the ‘t’ key to toggle the display of the Toolbar.
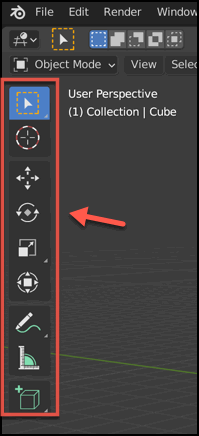
You can also use SHIFT + Spacebar to view the Popup Toolbar.
For more information, see Tool System.
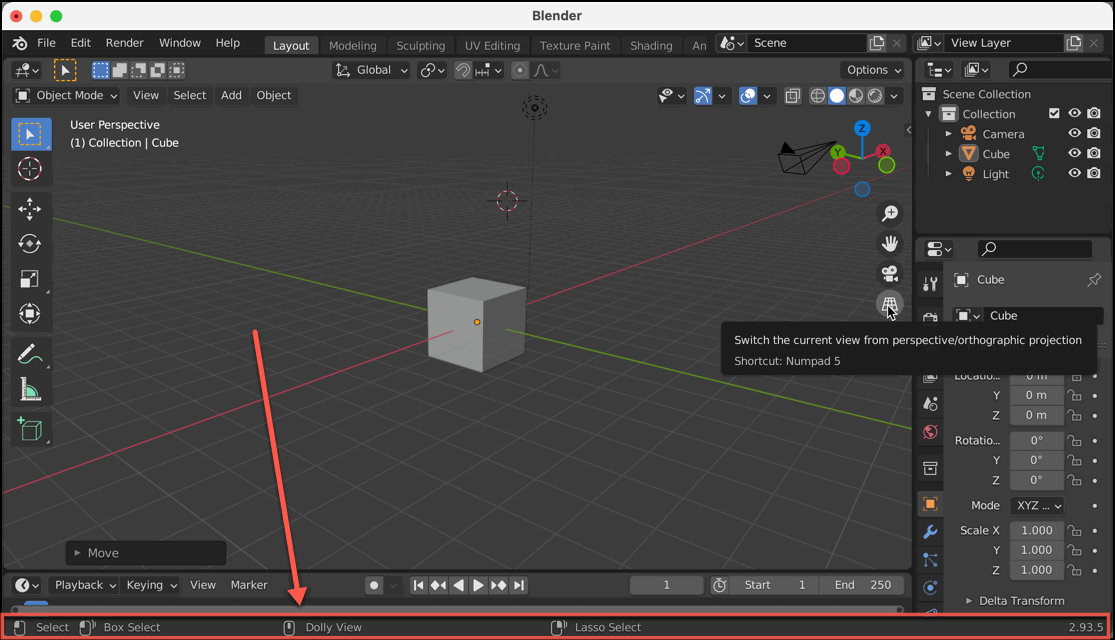
Toggle Sidebar
There is a 3D Viewport Sidebar that can be toggled using the ‘n’ key. When it’s hidden you can also display it by clicking on the little arrow shown on the top right corner of the 3D Viewport panel.
![]()
Sidebar Item Transform
The ‘Item’ tab provides a Transform area that displays various properties of th object that is currently selected, and allows you to click and drag on the values for those settings to adjust them.

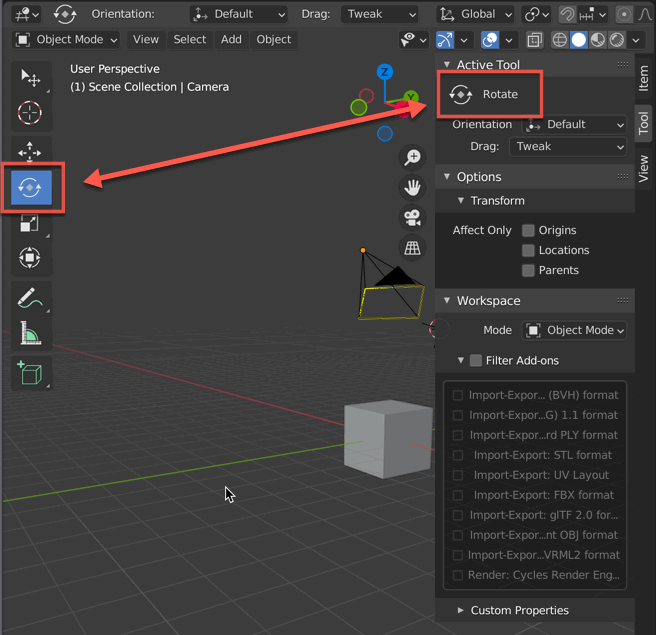
Sidebar Tool
The ‘tool’ tab allows you to modify various settings related to the currently selected tool in the Toolbar.
View
The ‘view’ tab provides you with other 3D Viewport options, such as the settings for the 3D Cursor.
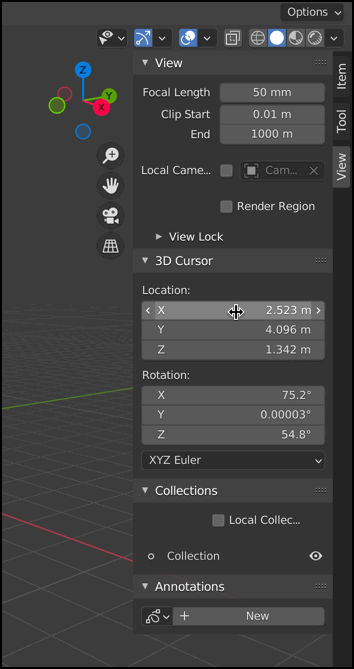
The 3D Cursor is used to determine where new 3D objects should be placed (spawned), and also acts as a reference for pivoting (used in animations).
You can use SHIFT + Right-click to place the 3D Cursor inside of the 3D viewport area. You can also press SHIFT + S to view a menu of options that lets you place the 3D Cursor in commonly desired locations, such as the ‘World Origin’ which is the center of the entire scene.
Pie Menus
There are various 3D Viewport Pie Menus that display around your mouse cursor when certain Hotkey combinations are pressed. The previous SHIFT + S example for placing the 3D cursor is an example of this. They call it a “Pie” menu because the options display around a circle, with each option being like a slice of the pie.
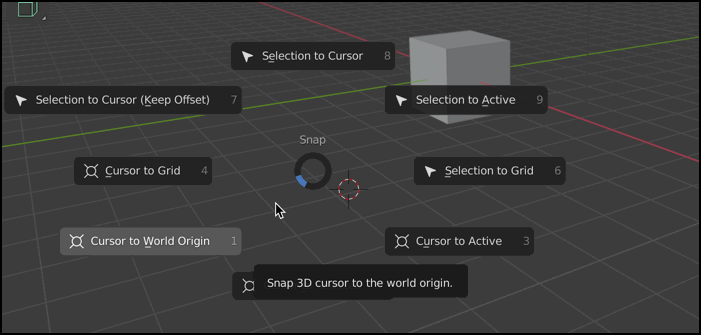
A pie menu will display after certain hot-keys are pressed, and will remain on the screen until you move your mouse and left-click to select the highlighted option. If you change your mind, you can right-click to cancel.
Optionally you can press and hold the hotkeys, move your mouse, and then release the hotkeys with the option you want selected to be executed.
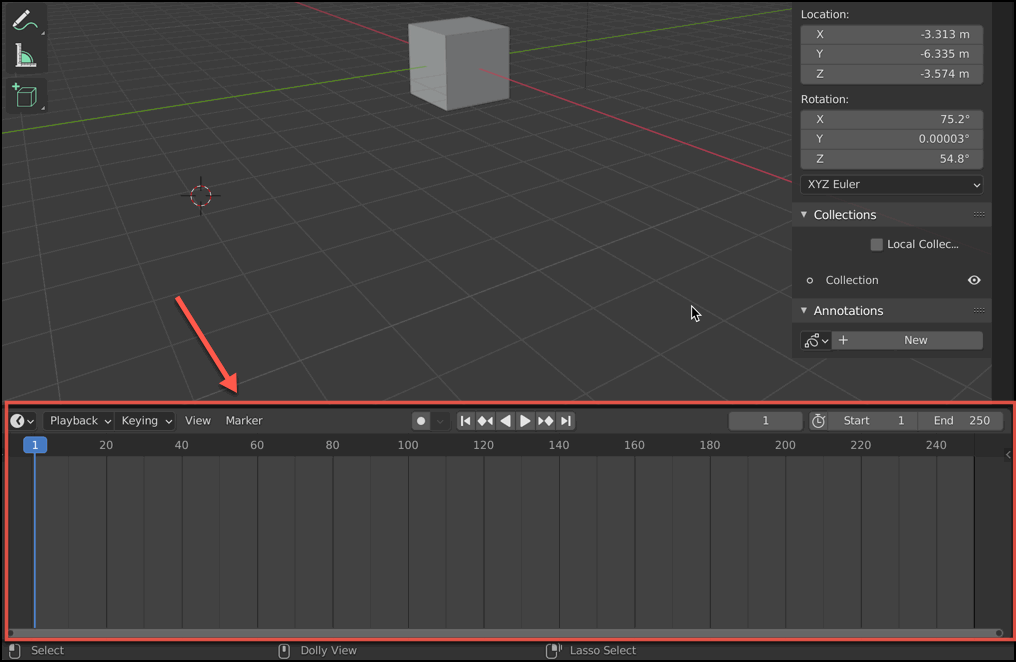
Timeline
Below the 3D Viewport there is a Timeline panel. You may need to drag the boundary of this to make it larger, as it is minimized by default.
The Timeline is used to control playback of animations. You can use your mouse scroll wheel to “zoom in” and “zoom out” of the timeline. You can also drag the timeline with your middle mouse button.
Properties
The Properties panel contains several tabs shown vertically with different icons, and is used to display the properties of your scene.
- Tool Properties
- Active Tool and Workspace Settings - Options for your currently selected tool in the Toolbar, similar to the ‘Tool’ tab in the Sidebar.
- Scene Properties
- Render Properties
- Output Properties
- View Layer Properties
- Scene Properties
- World Properties
- Object Properties
- Physics Properties
- Object Constraint Properties
- Object Data Properties
- Texture Properties
Scenes
You can create more than one scene in a single Blender file.